

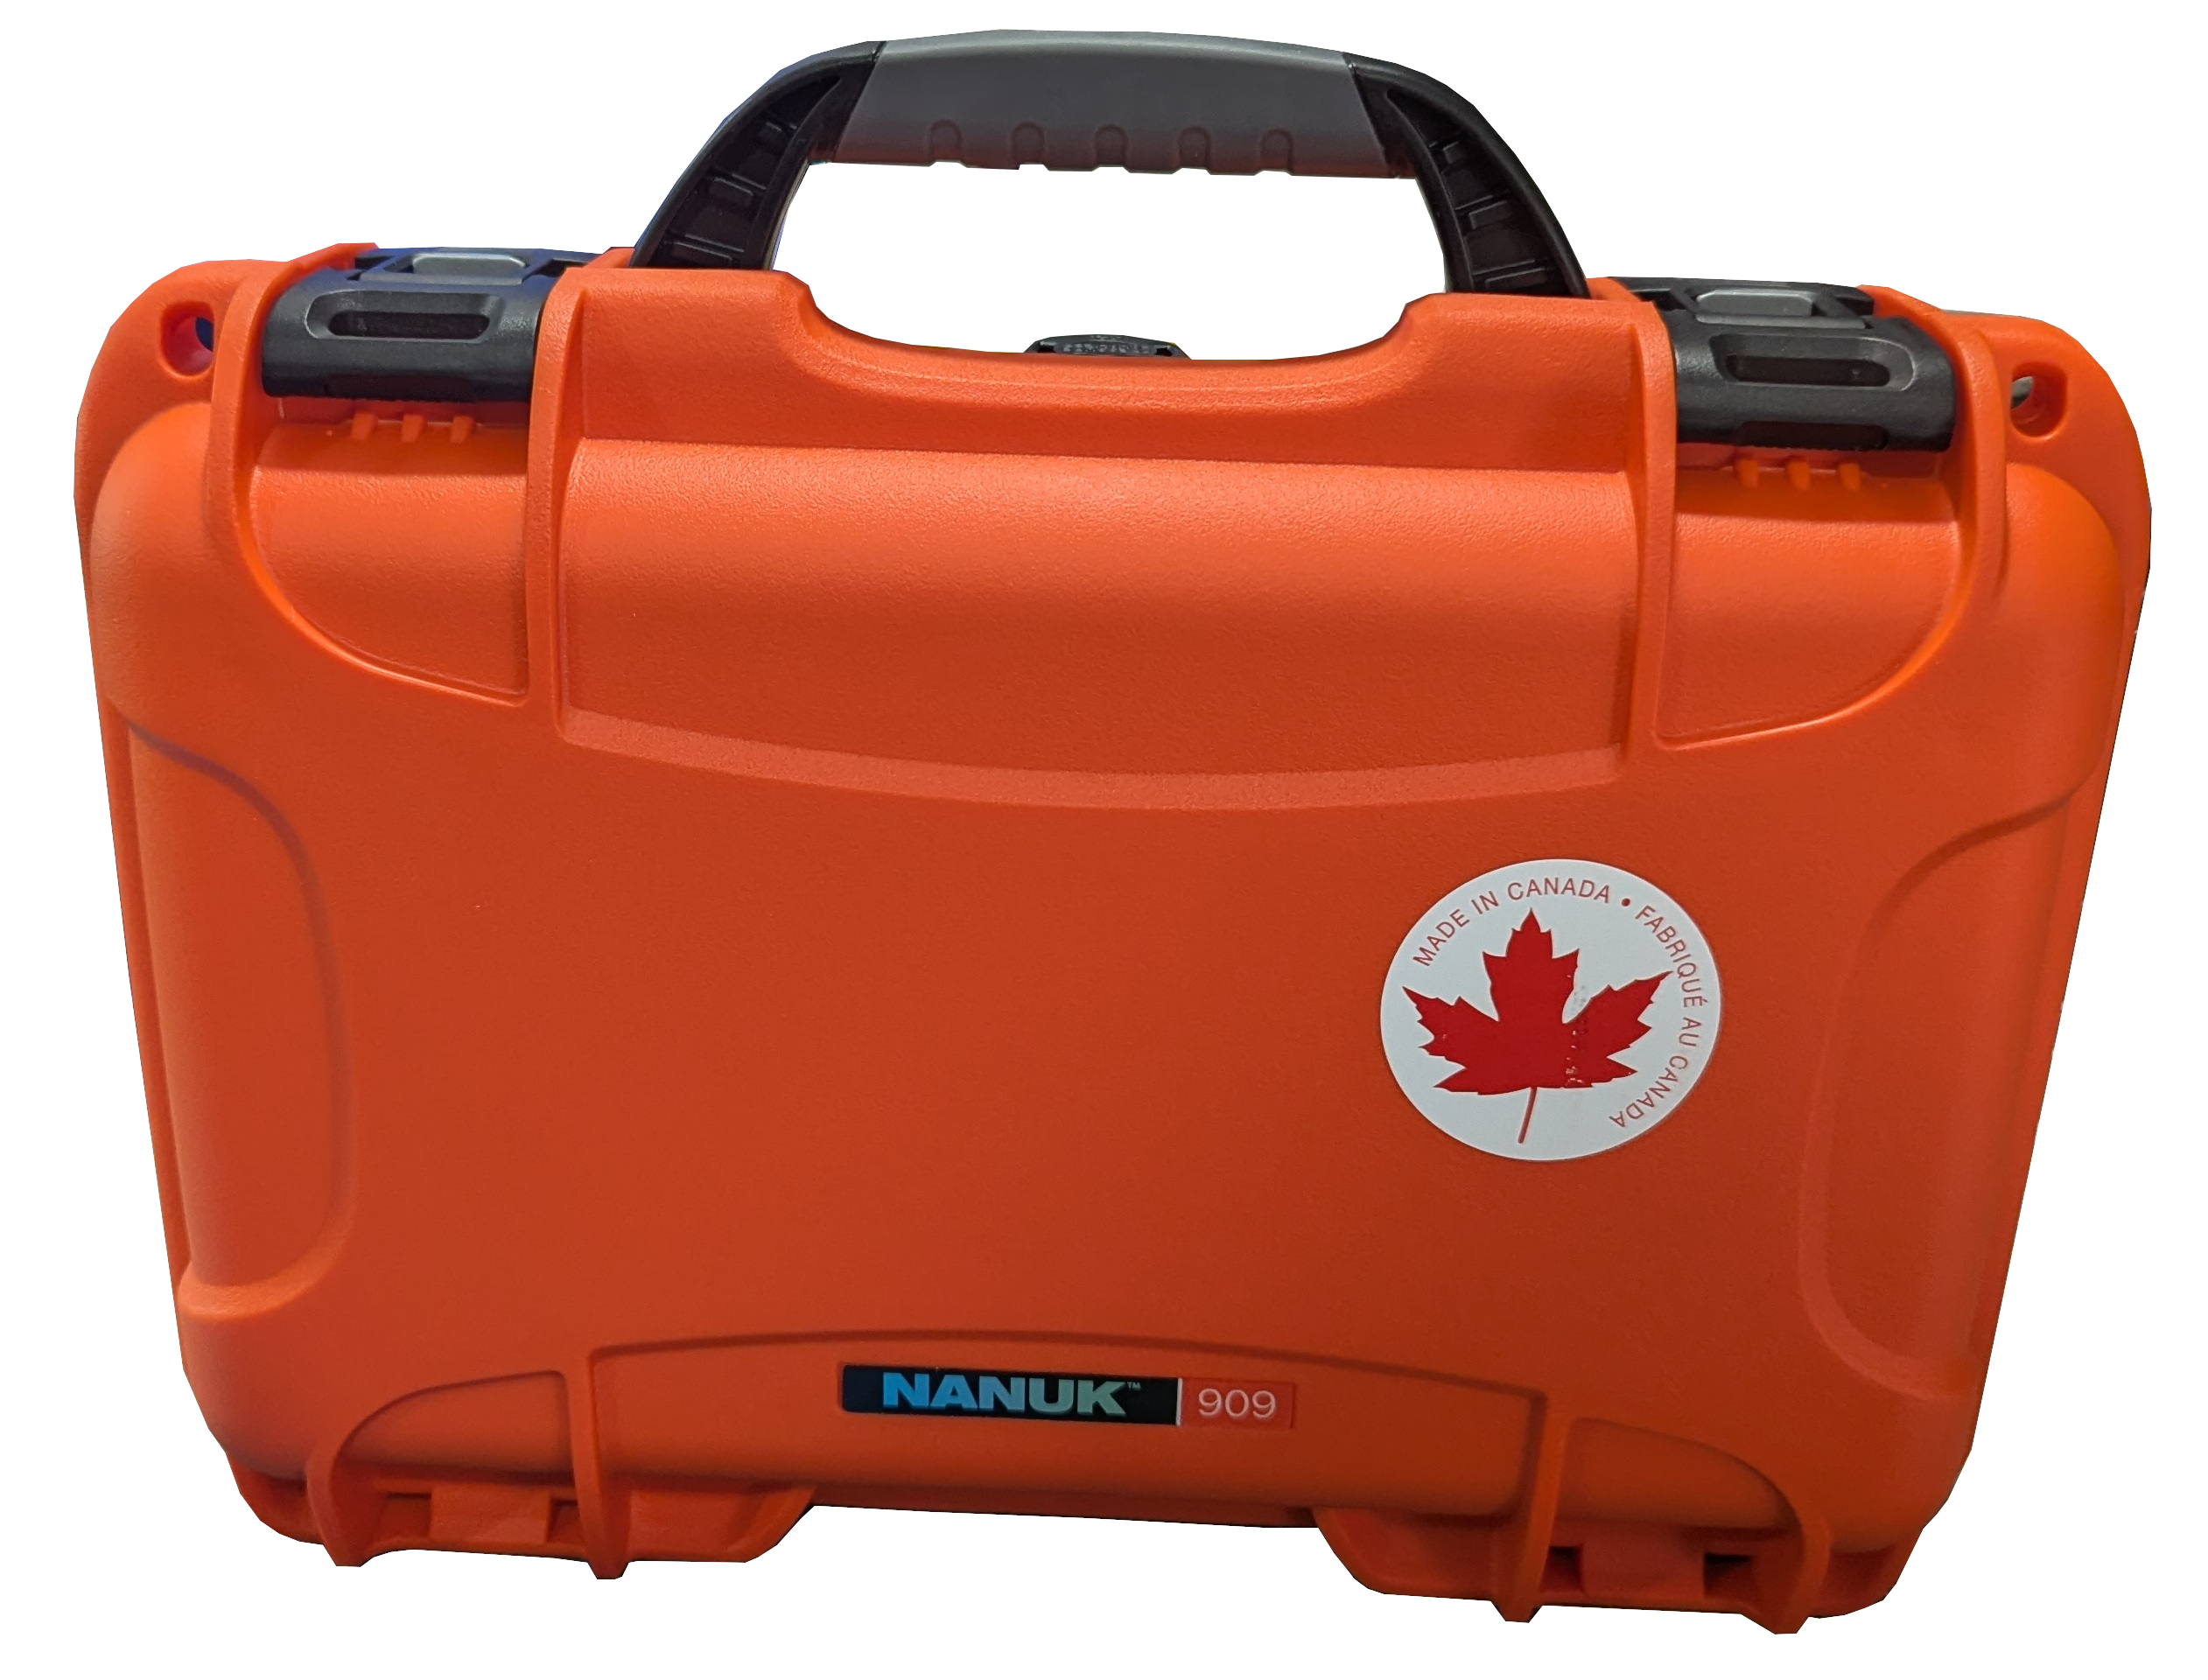
The Case
I had a few requirements for the case, I needed a case with top and bottoms inserts that could be 3D printed on a 330 x 240 x 300 mm print bed without having to “glue” them together.
I also new I wanted a 10 inch screen. So based on those rough size requirements, I set out looking for a case. I eventually settled on the Nanuk 909. The interior case dimensions are 291 x 178 x 93 mm (L x W x H). I chose the color orange to make it standout like a sore thumb.
Touch Screen
I wanted the largest touchscreen that I could get in the case. I settled on the GeeekPi 10.1 inch touchscreen. The resolution of the screen is 1024×600, I wish it was higher resolution, but it works fine. I purchased the screen from Amazon, but it is available from a host of other resellers. The screen is easy to integrate you just need USB for power and touch and an HDMI cable for video. The display has two built in speakers on the back of the display, but they are borderline useless, to make up for this i included an audio jack on the upper lid to the bottom left of the display.
External Power

My first thought was to power the deck externally using USB-C, but in the end I went with a traditional 2.1 mm DC Power jack. The reason… flexibility. The input voltage range on the Cyberdeck is 6 to 24 VDC. With this voltage range it could be powered off a wide range of power options such as cigarette plug, a couple of alligator clips connected to a standard car/truck/rv battery, a USB-C to DC cable. The bottom line is I wanted as many options as possible.
The X729 from Geekworm provides “most” of the power for the device. All of the radios with the exception the Heltec LORA radio are connected to an internal USB hub powered directly from the DC jack. The raspberry PI, touchscreen, Lora radio and the four port USB hub are powered through the X729 and can run off the two internal 18650 batteries. I have not done any battery testing, so I have no idea of the runtime. My gut says it won’t be great. I’ll follow up with battery testing in the future. The other radios (GPS, LTE, SDR, and SA) all require external power to be connected before they will power up. The X729 is an ultra-compact advanced uninterruptible power supply expansion board for all current models of the Raspberry Pi.
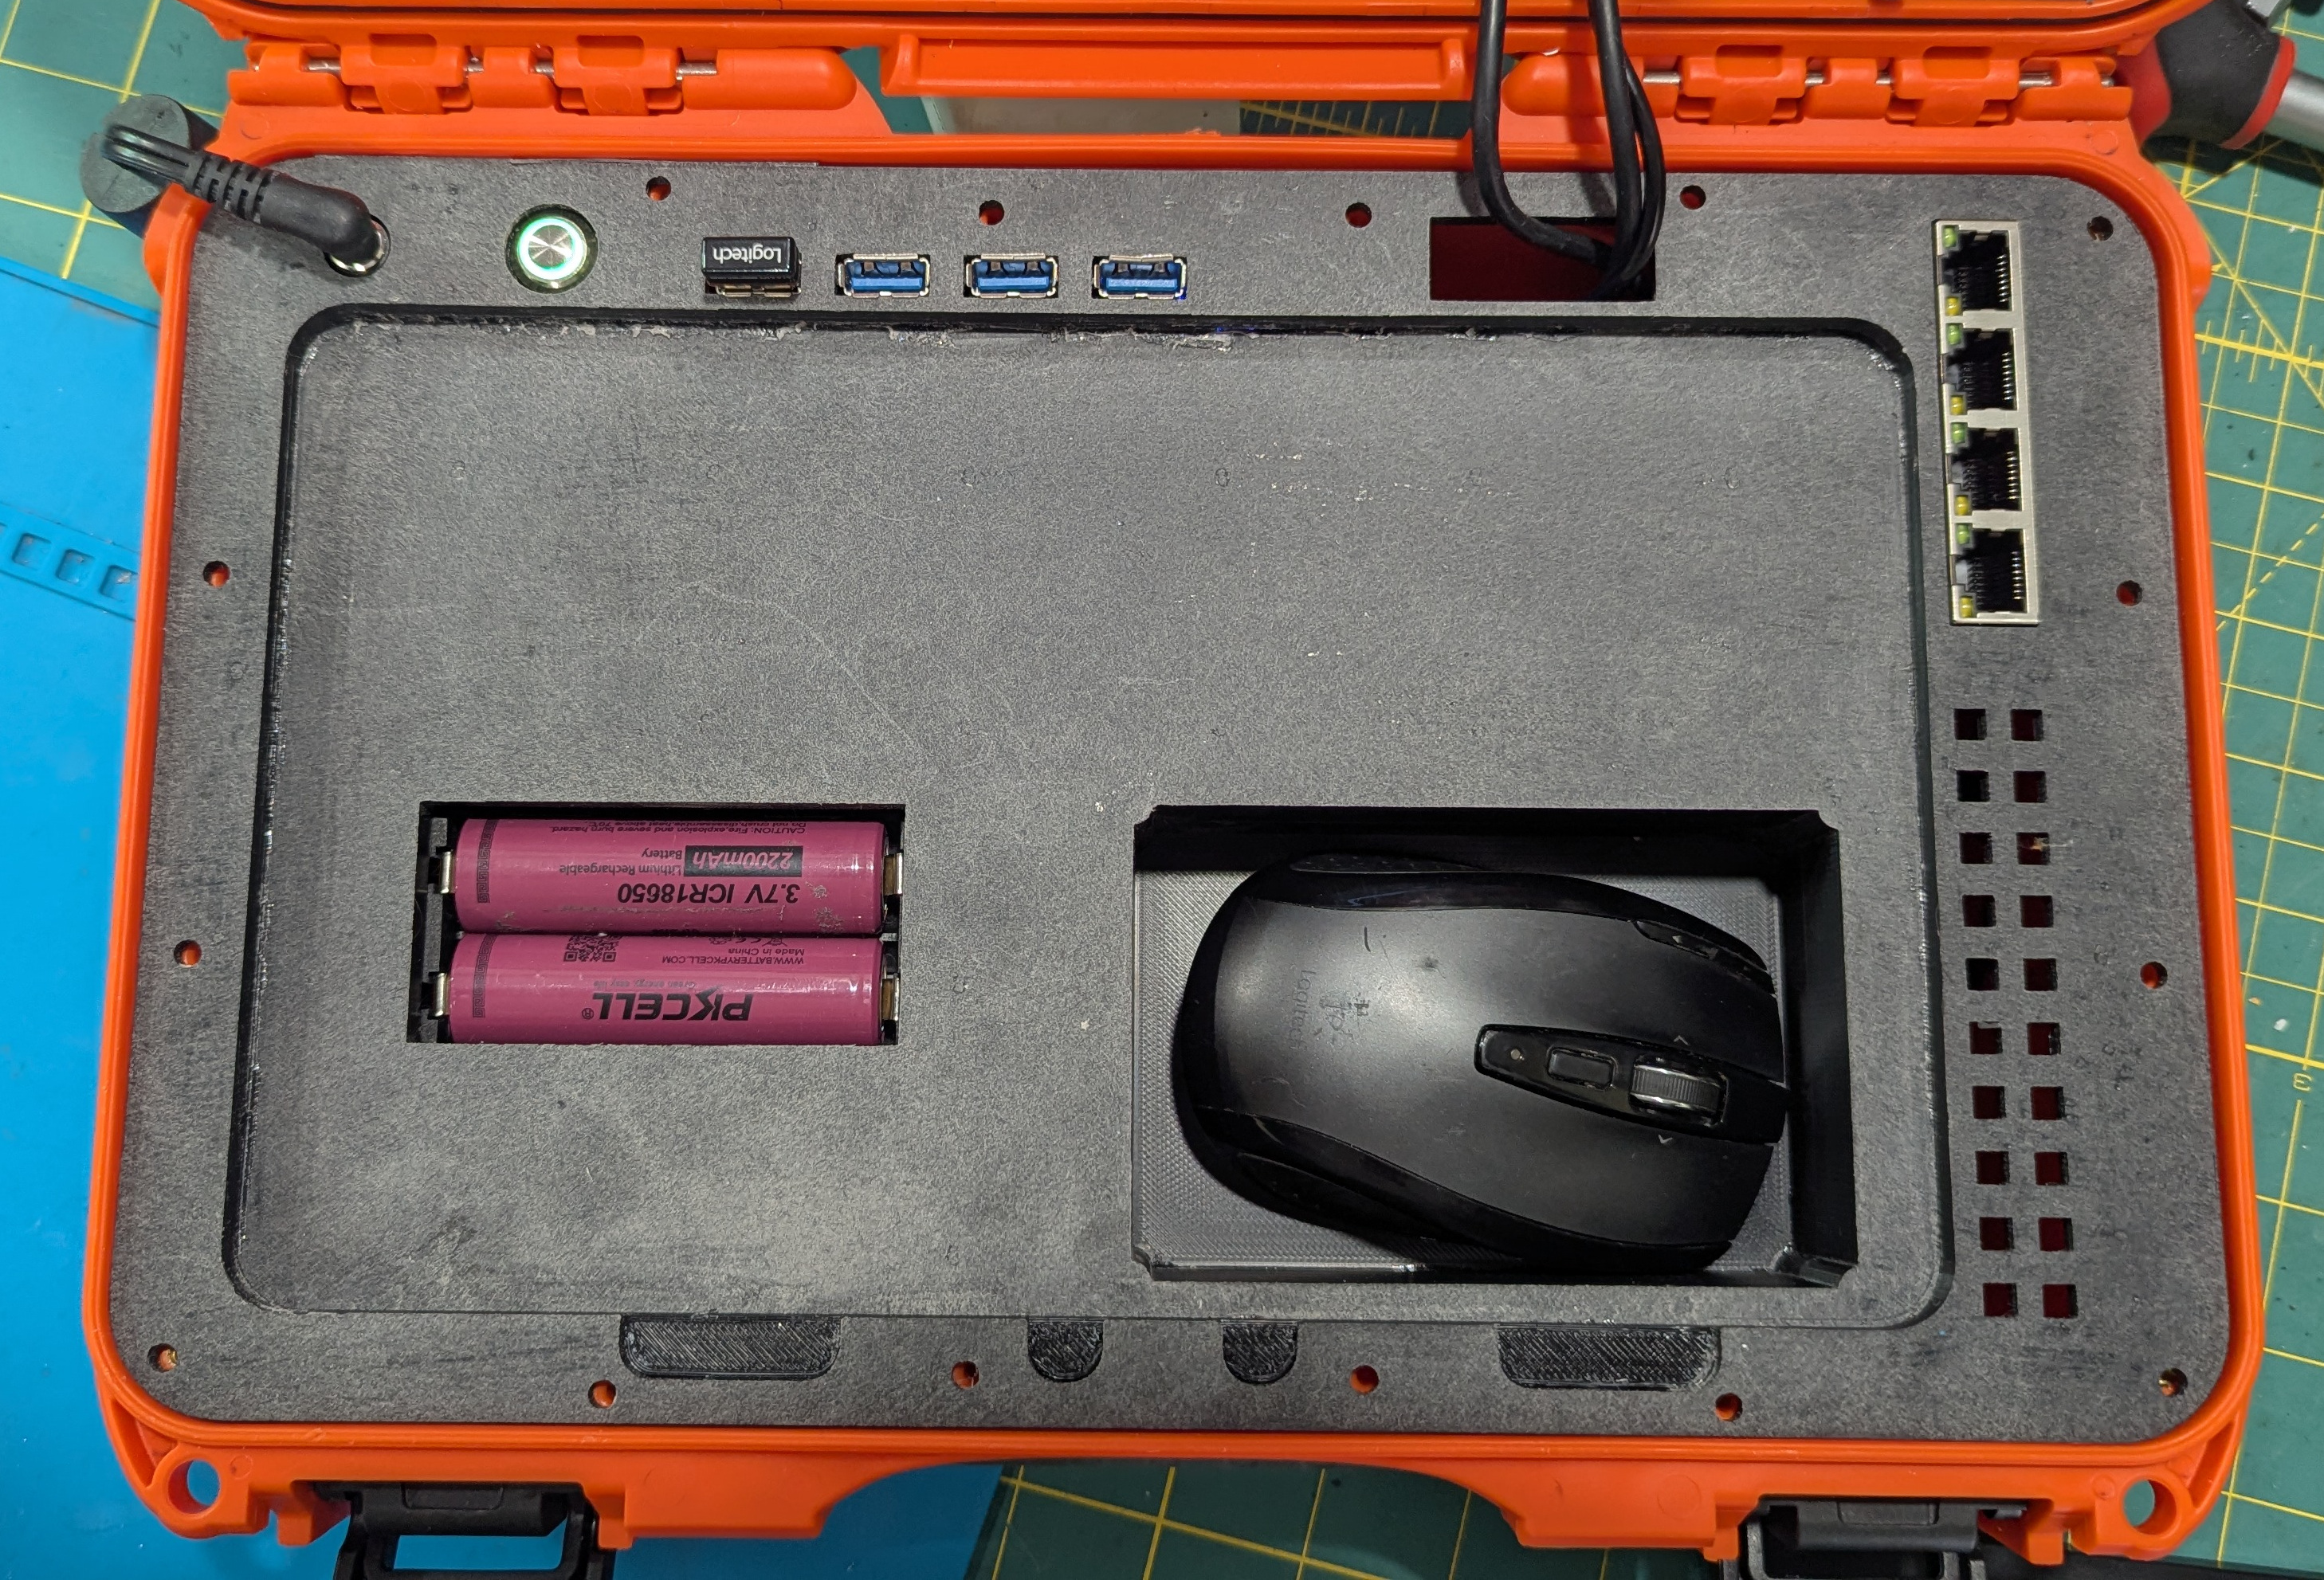
The two 18650 batteries are removable without taking the entire computer a part. Simply lift off the keyboard, and you have direct access to the batteries. You will require a small screw driver to assist in popping out the batteries.
RF Connectors
There are six SMA connectors located along the top of the case. I wanted to be able to remove the antennas quickly, and I did not want them to be recessed. This caused an interference problem when closing the lid, although the solution was to add four cutouts in the bottom insert that would provide the necessary clearance (see picture above)
The antenna connectors from left to right are for the SA (Spectrum Analyzer), LTE, WiFi, GPS, WiFi, SDR, and Lora radio.
Ethernet Switch
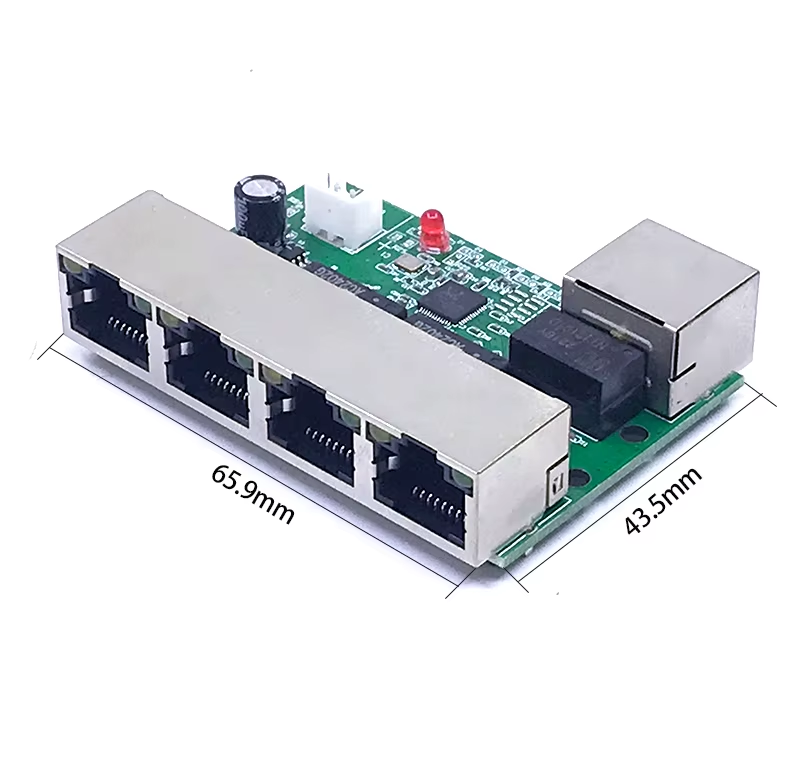
The Cyberdeck includes a four port network switch, I found on AliExpress. I ended removing the up-link port and soldering wires directly to the PCB, as there was insufficient space to get a cable into the connector, I tried a right angle connector, and I also looked at installing a vertical connector, but couldn’t find one with the same pin-outs (admittedly I did look too hard). The DC power was connected directly to the DC input jack. The switch runs off of anything between 5 to 24 VDC.
That’s it for this one. In the next part I talk about the 3D Prints and post the files. Cheers!